
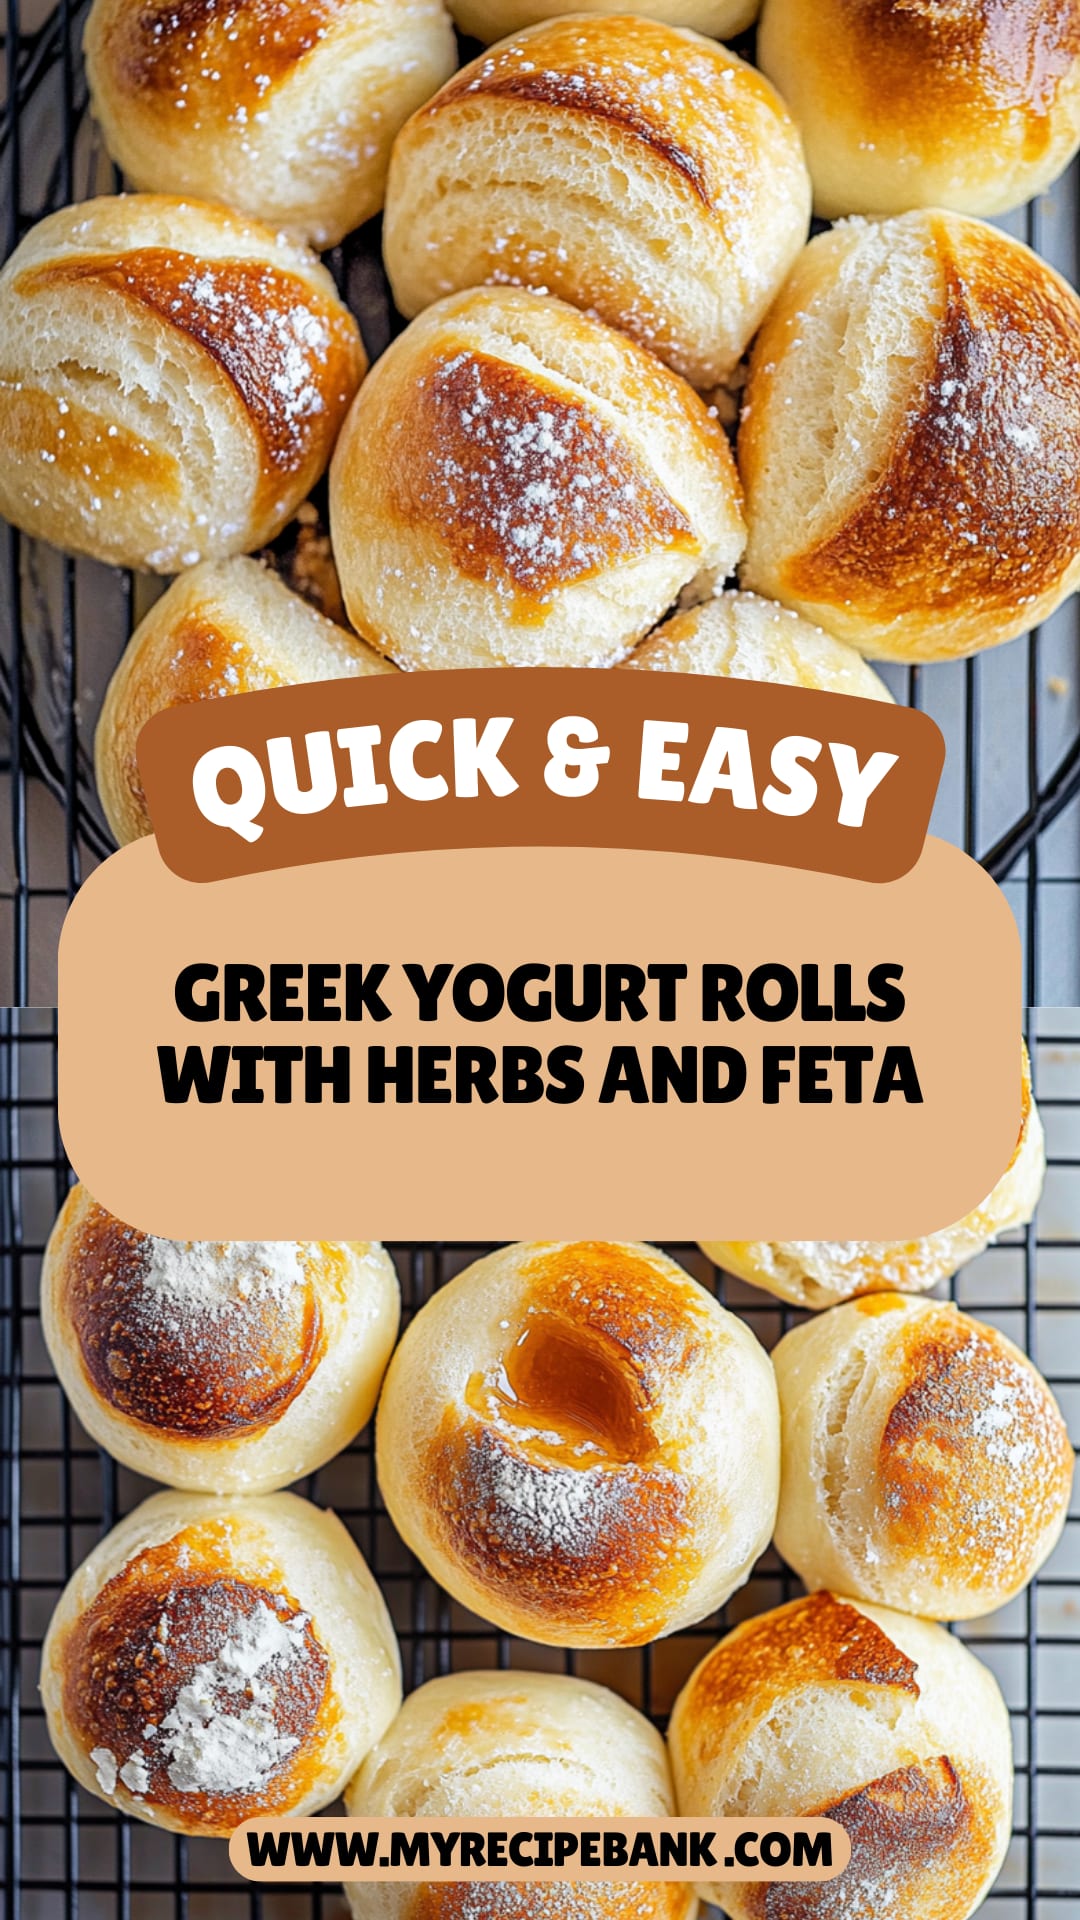
Imagine sinking your teeth into soft, fluffy Greek Yogurt Rolls that practically melt in your mouth, bursting with a tangy flavor that dances on your palate. The warm, buttery aroma wafting through the kitchen is enough to make anyone weak in the knees, evoking memories of family gatherings where these delightful rolls stole the show.
These Greek Yogurt Rolls are perfect for any occasion, whether it’s a cozy Sunday brunch or an impromptu dinner party that needs a touch of magic. As you pull them from the oven, the anticipation builds—will they be as delicious as you remember? Trust me, one bite and you’ll be hooked on their irresistible texture and flavor!
Why are Greek Yogurt Rolls a game changer?
Deliciously unique: These rolls combine the creaminess of Greek yogurt with simple ingredients, creating a delightful flavor.
Super easy: No need for fancy techniques—mix, roll, and bake!
Versatile option: Perfect for breakfast, snacks, or even as dinner sides.
Time-saving treat: Ready in under 30 minutes, making them ideal for busy days.
Crowd-pleaser: Kids and adults alike can’t resist these fluffy delights!
Greek Yogurt Rolls Ingredients
For the Dough
- All-purpose flour – this gives the rolls their fluffy texture; feel free to substitute with whole wheat for a heartier option.
- Greek yogurt – the star ingredient that keeps these rolls moist and adds a tangy flavor.
- Baking powder – helps the rolls rise beautifully; make sure it’s fresh for the best results.
- Salt – enhances all the flavors and balances the sweetness.
- Honey or sugar – adds a touch of sweetness; honey will give a lovely hint of floral notes.
- Egg – binds the ingredients together and adds richness to each roll.
For Serving (optional)
- Butter – melt it for brushing on top after baking for a deliciously golden finish.
- Herbs or cheese – consider adding herbs like rosemary or some shredded cheese into the dough for extra flavor!
How to Make Greek Yogurt Rolls
1. Preheat your oven to 400°F (200°C) to create the perfect baking environment for your rolls. This step ensures that they rise beautifully and develop a lovely golden crust.
2. Combine the dry ingredients in a large mixing bowl—flour, baking powder, and salt. Stir them together until well mixed, creating a fluffy base for your Greek yogurt rolls.
3. Add the Greek yogurt to the bowl with dry ingredients. Use a spatula or your hands to gently mix until the dough comes together, being careful not to overwork it.
4. Knead the dough on a lightly floured surface for about 2-3 minutes. You’re looking for a smooth, soft texture that’s slightly sticky but manageable.
5. Shape the dough into small balls or rolls, about the size of a golf ball. Place them on a lined baking sheet, leaving space between each roll for expansion while baking.
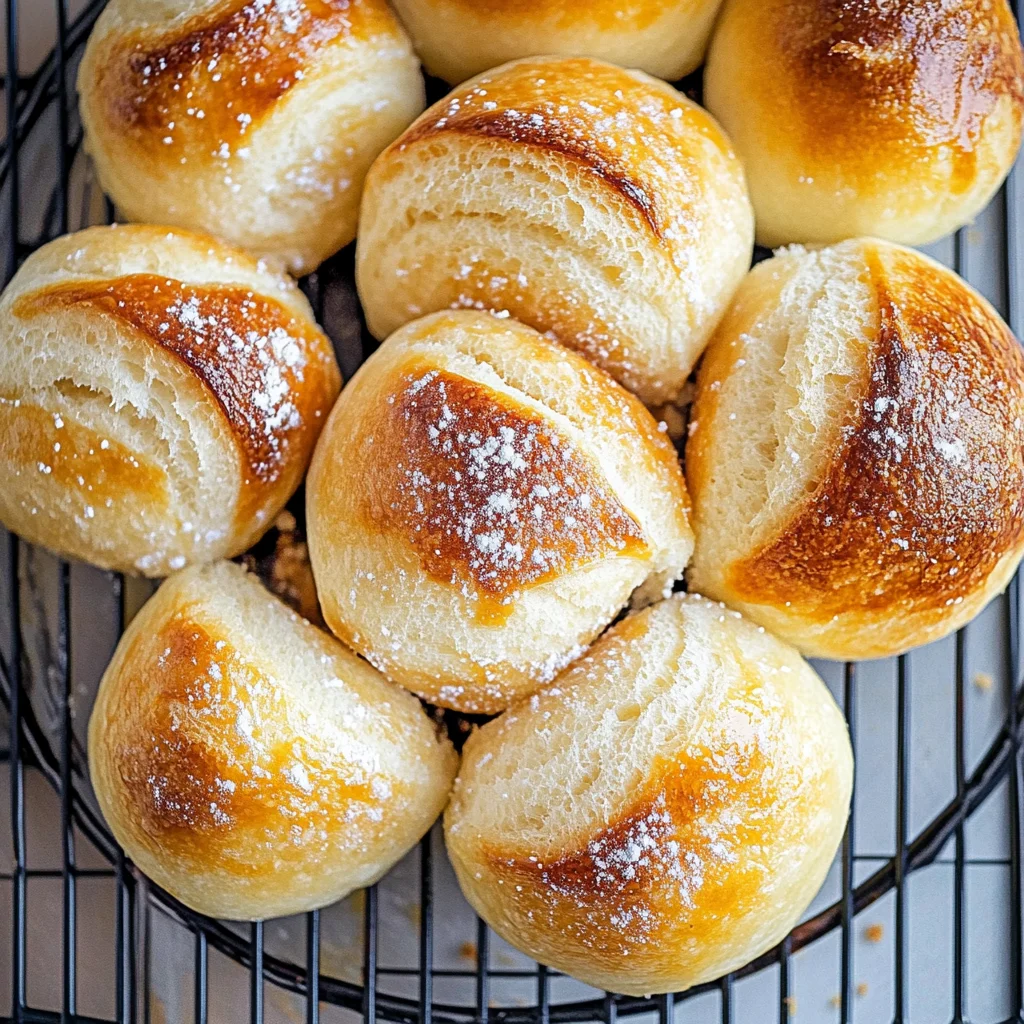
6. Bake in the preheated oven for 15-20 minutes until they are golden brown on top and sound hollow when tapped. Your kitchen should smell heavenly at this point!
7. Cool the rolls on a wire rack for a few minutes before serving. This helps maintain their fluffy texture and makes them easier to handle.
Optional: Serve warm with butter or honey for an extra touch of indulgence.
Exact quantities are listed in the recipe card below.
Tips for the Best Greek Yogurt Rolls
- Choose Quality Yogurt: Use full-fat Greek yogurt for a richer flavor and a tender texture in your rolls. Low-fat can lead to dryness.
- Don’t Overmix: Mix the dough until just combined. Overmixing can result in tough rolls, so handle it gently!
- Adjust Flour Gradually: Start with less flour and add more as needed. Too much flour can make your Greek yogurt rolls dense and heavy.
- Check Oven Temperature: Always preheat your oven properly. An inconsistent temperature can lead to uneven baking, affecting the rise of your rolls.
- Let Them Rest: Allow the rolled dough to rest for 10 minutes before baking. This helps the gluten relax, resulting in fluffier rolls.
How to Store and Freeze Greek Yogurt Rolls
- Room Temperature: Enjoy your Greek yogurt rolls fresh for up to 2 hours. If left out longer, they should be discarded to ensure food safety.
- Fridge: Store leftover Greek yogurt rolls in an airtight container for up to 3 days. This keeps them moist and ready for snacking or meals.
- Freezer: Freeze Greek yogurt rolls wrapped individually in plastic wrap or in a freezer bag for up to 3 months. Just let them thaw in the fridge overnight before enjoying.
- Reheating: For a warm treat, reheat frozen Greek yogurt rolls in the oven at 350°F (175°C) for about 10-15 minutes. They’ll taste fresh-baked!
Greek Yogurt Rolls: Creative Twists
Embrace the joy of personalizing your rolls with these delightful variations that will tantalize your taste buds.
- Dairy-Free: Swap Greek yogurt for coconut yogurt for a creamy, tropical twist. The slight sweetness complements the dough beautifully.
- Herb-Infused: Mix in freshly chopped herbs like rosemary or thyme for an aromatic flavor boost. These fragrant notes elevate your rolls to gourmet territory.
- Spicy Kick: Add a pinch of cayenne pepper or crushed red pepper flakes to the dough for a warming, spicy finish. Perfect for those who love a little heat!
- Cheesy Delight: Fold in shredded cheese, such as feta or cheddar, before baking. This adds a savory richness that makes these rolls irresistible.
- Sweet Surprise: Incorporate honey or maple syrup into the dough for a touch of sweetness. Pair with butter for a delightful breakfast treat.
- Nutty Crunch: Stir in chopped nuts like walnuts or almonds for added texture and flavor. The crunch contrasts beautifully with the soft rolls.
- Fruity Zest: Add lemon or orange zest to brighten up the flavor profile. This citrusy touch enhances both aroma and taste, making each bite refreshing.
Make Ahead Options

Greek Yogurt Rolls are an excellent choice for meal prep, allowing you to enjoy fresh, fluffy rolls even on your busiest days. You can prepare the dough up to 24 hours in advance; simply mix your ingredients and store the dough wrapped tightly in plastic wrap in the refrigerator. When you’re ready to bake, let it sit at room temperature for about 30 minutes before shaping and baking. Alternatively, you can shape the rolls and freeze them for up to 3 months. Just place them on a baking sheet until frozen solid, then transfer to a freezer bag. To finish, allow them to rise for about an hour at room temperature before baking. This way, you’ll have delicious Greek Yogurt Rolls ready in no time!
Greek Yogurt Rolls Recipe FAQs
How do I select the best Greek yogurt for my rolls?
When choosing Greek yogurt, look for one that is thick and creamy, ideally with no added sugars or artificial flavors. Full-fat varieties yield richer rolls, while low-fat options can still work well if you’re watching calories. Always check the expiration date to ensure freshness!
What is the best way to store leftover Greek Yogurt Rolls?
To keep your Greek Yogurt Rolls fresh, store them in an airtight container at room temperature for up to 2 days. If you need to keep them longer, refrigerate them for up to a week. Just be sure to let them cool completely before sealing to avoid condensation.
Can I freeze Greek Yogurt Rolls?
Absolutely! To freeze your Greek Yogurt Rolls, allow them to cool completely, then wrap each roll tightly in plastic wrap and place them in a freezer-safe bag or container. They can be frozen for up to 3 months. When you’re ready to enjoy them, simply thaw overnight in the fridge and warm them in the oven at 350°F (175°C) for about 10 minutes.
What should I do if my Greek Yogurt Rolls are too dense?
If your rolls turn out too dense, it might be due to overmixing the dough or using too much flour. Try adding a bit more baking powder next time or ensure you’re gently folding the ingredients together until just combined. Remember, less is often more when it comes to mixing!
Are Greek Yogurt Rolls suitable for a gluten-free diet?
Yes! You can easily make gluten-free Greek Yogurt Rolls by substituting all-purpose flour with a gluten-free blend or almond flour. Just keep in mind that the texture might vary slightly, so you may need to adjust the liquid ingredients accordingly.
Can I add herbs or spices to my Greek Yogurt Rolls?
Definitely! Adding fresh herbs like rosemary or thyme, or spices such as garlic powder or paprika can elevate your rolls tremendously. Experiment with different combinations—just be sure not to overpower the delicate flavor of the yogurt itself!
Greek Yogurt Rolls
Ingredients
Method
- Preheat your oven to 400°F (200°C).
- Combine the dry ingredients in a large mixing bowl—flour, baking powder, and salt.
- Add the Greek yogurt to the bowl with dry ingredients and mix until the dough comes together.
- Knead the dough on a lightly floured surface for about 2-3 minutes.
- Shape the dough into small balls or rolls and place them on a lined baking sheet.
- Bake in the preheated oven for 15-20 minutes until golden brown.
- Cool the rolls on a wire rack for a few minutes before serving.


