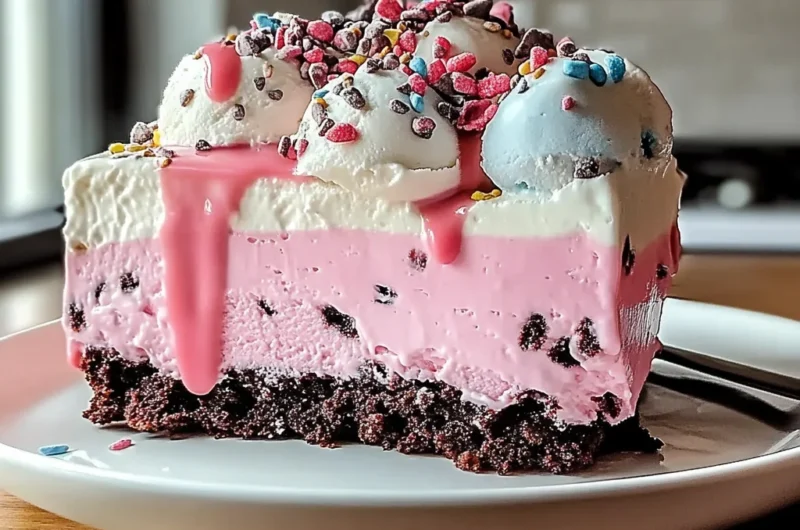
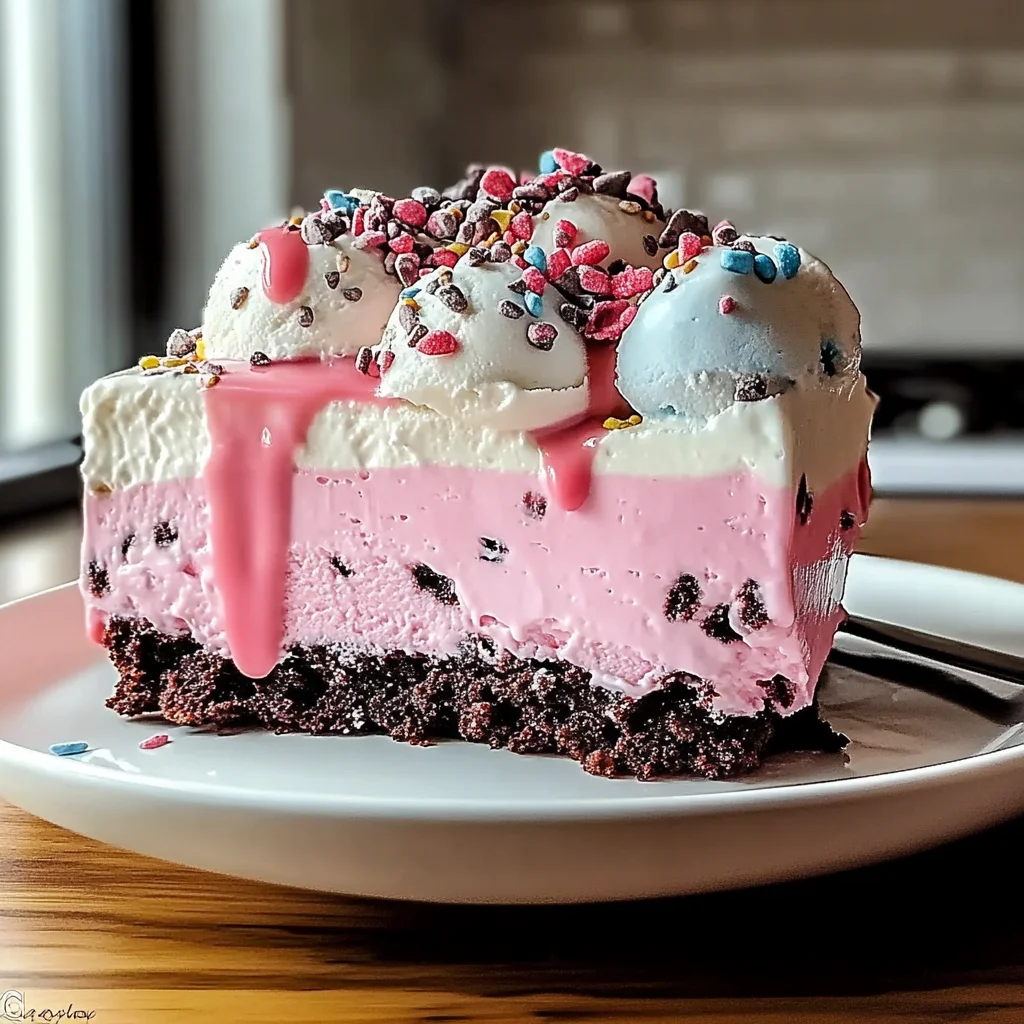
Imagine slicing into a luscious Ice Cream Cake, where velvety layers of rich chocolate cake meet creamy, dreamy ice cream, creating a symphony of flavors that dance on your palate. The moment the sweet aroma wafts through the air, it’s impossible not to smile; this dessert beckons like a childhood friend at a summer birthday party, ready to bring joy and nostalgia with every bite.
As you dig in, the delightful crunch of sprinkles and the coolness of ice cream evoke memories of laughter-filled celebrations, making it the ultimate treat for any occasion. Whether it’s a sunny picnic or an intimate gathering with friends, indulging in this delicious dessert is sure to elevate the moment and leave everyone craving another slice.
Why Does Everyone Love Ice Cream Cake?
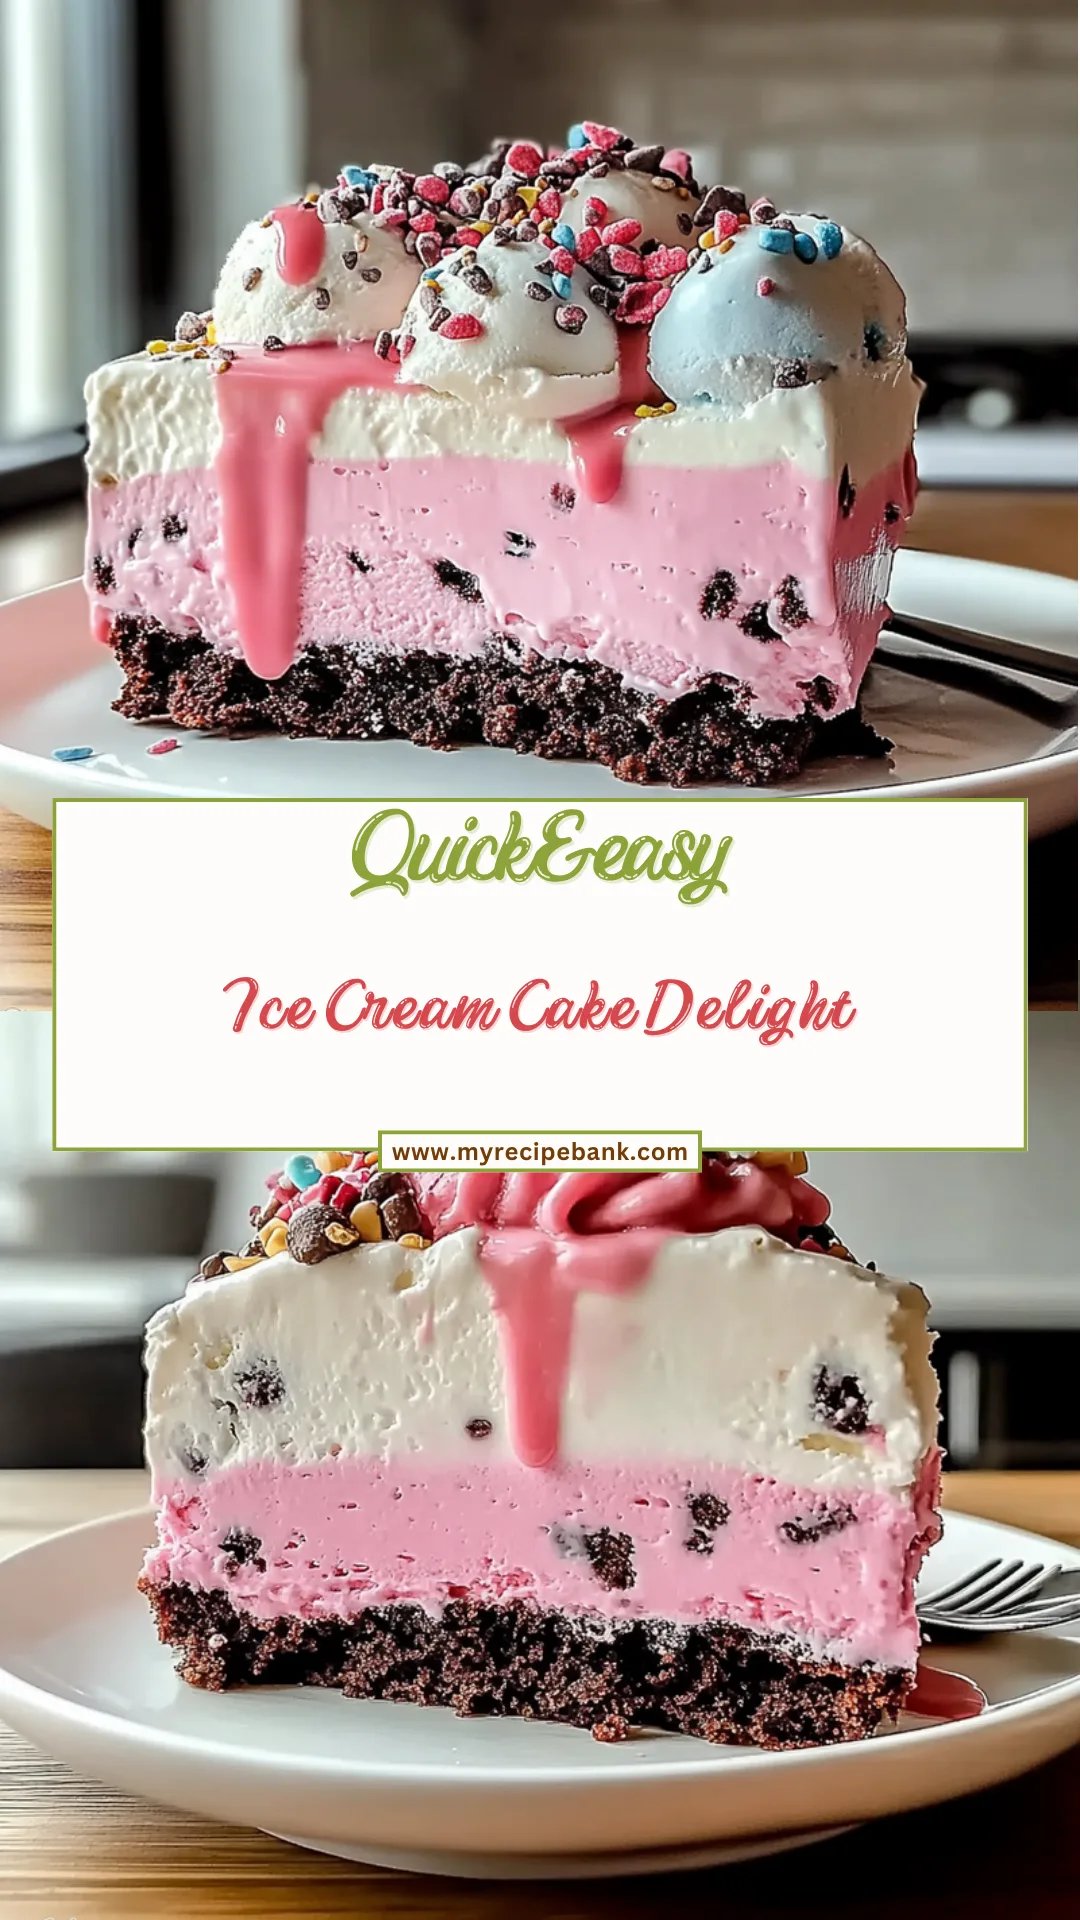
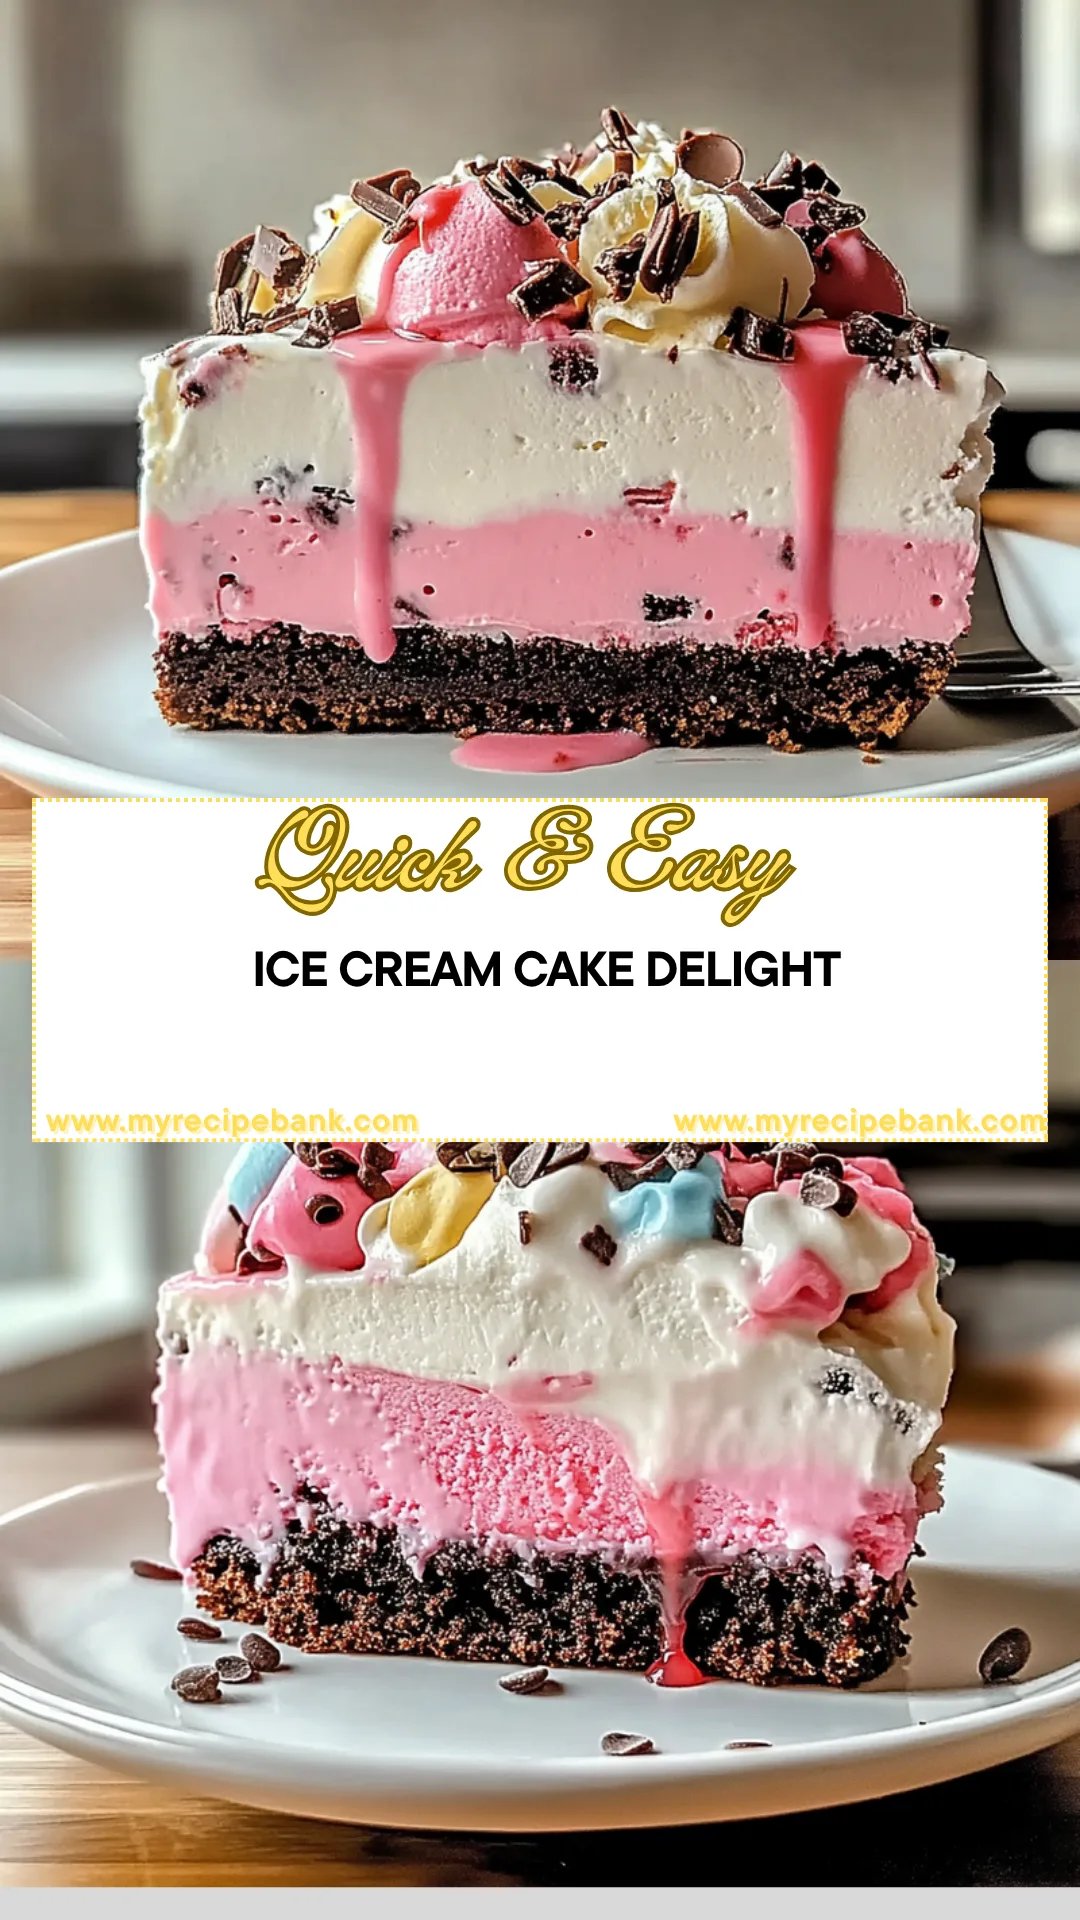
Deliciously layered with rich chocolate cake and creamy ice cream, this dessert is a perfect treat for any celebration. Quick and easy, you can whip it up in just 30 minutes—no baking required! Versatile flavors let you customize it to your taste, whether you prefer classic vanilla or indulgent mint chocolate chip. Eye-catching toppings of whipped cream, chocolate syrup, and sprinkles make it a sure hit at parties. Lastly, it’s a delightful crowd-pleaser that will have everyone coming back for seconds!
Ice Cream Cake Ingredients
For the Cake Layer
- 1 box chocolate cake mix (or your favorite flavor) – Choose a mix that excites your taste buds for a delightful base.
- 1 cup water – This is essential for hydrating the cake mix and ensuring a moist texture.
- 1/3 cup vegetable oil – Adding oil keeps the cake tender and adds richness to every slice.
- 3 large eggs – Eggs are crucial for binding the ingredients together and creating a fluffy cake.
For the Ice Cream Layer
- 1 quart ice cream (any flavor, softened) – Use your family’s favorite ice cream to create a creamy, dreamy layer of deliciousness.
For the Topping
- 1 cup whipped cream (for frosting) – This fluffy topping adds a light, airy finish to your Ice Cream Cake.
- 1/4 cup chocolate syrup (for drizzling) – A drizzle of chocolate syrup enhances flavor and adds an eye-catching touch.
- 1/4 cup sprinkles (optional) – Sprinkles add a fun pop of color and celebration to your dessert!
Step-by-Step Ice Cream Cake
1. Preheat the oven to 350°F (175°C). Greasing and flouring your 9-inch round cake pan ensures a perfect release once your cake is baked to golden perfection.
2. Mix together in a bowl the chocolate cake mix, water, vegetable oil, and eggs. Stir until smooth and creamy, creating a deliciously rich batter that will be the heart of your Ice Cream Cake.
3. Pour the batter into your prepared cake pan and bake for 25-30 minutes. Keep an eye on it; when a toothpick inserted comes out clean, it’s ready for cooling!
4. Cool completely in the pan before removing it. This step is essential for maintaining the structure of your cake as you prepare to assemble your delightful layers.
Assemble Ice Cream Cake:
5. Slice the cooled cake in half horizontally to create two even layers. This is where the magic begins—your ice cream will fit snugly between these soft, chocolaty layers.
6. Spread softened ice cream evenly over the top of one layer placed on a serving plate. Choose any flavor you love; this layer adds that delightful cold creaminess we all adore.
7. Top with the second layer of cake and wrap the entire creation in plastic wrap. Freeze for at least 2 hours to set perfectly—you want it firm enough to slice beautifully!
Frost and Serve:
8. Remove from the freezer and unwrap your masterpiece. Frost the top and sides lavishly with whipped cream, giving it that classic, inviting look we all crave in a dessert.
9. Drizzle chocolate syrup generously over the top and add sprinkles if desired for that fun touch! This final flourish makes it feel extra special for celebrations.
10. Slice and serve immediately! Enjoy watching everyone savor each bite of this delightful Ice Cream Cake that brings smiles all around.
Optional: Garnish with fresh fruit for an added splash of color!
Exact quantities are listed in the recipe card below.
Tips for the Best Ice Cream Cake
- Cool Completely: Allow your cake to cool fully in the pan. This prevents it from crumbling when you slice it in half.
- Use Softened Ice Cream: Make sure your ice cream is softened before spreading. This ensures an even layer that won’t tear the cake.
- Wrap Well: After assembling, wrap the cake tightly in plastic wrap to avoid freezer burn and maintain its flavor.
- Frosting Technique: When frosting with whipped cream, use a spatula to create smooth edges and a beautiful finish on your Ice Cream Cake.
- Syrup Timing: Drizzle chocolate syrup just before serving. This keeps it fresh and visually appealing without making the whipped cream soggy.
- Layering Evenness: For even layers, use a serrated knife to slice the cake horizontally. A steady hand will help achieve perfect layers every time.
How to Store and Freeze Ice Cream Cake
- Fridge: Keep leftover Ice Cream Cake in an airtight container for up to 3 days to maintain freshness. Cover it with plastic wrap if you don’t have a container.
- Freezer: For longer storage, wrap the cake tightly in plastic wrap, then aluminum foil. It will last up to 2 months in the freezer without losing flavor or texture.
- Serving: When ready to enjoy, let the Ice Cream Cake sit at room temperature for about 10-15 minutes before slicing. This makes cutting easier and enhances the flavors.
- Toppings: If you have any leftover whipped cream or toppings, store them separately in the fridge and use them within 3 days for best results.
Ice Cream Cake Your Way
Get creative with this delightful dessert and make it truly your own with these fun variations!
- Gluten-Free: Substitute the chocolate cake mix with a gluten-free blend for a deliciously inclusive treat. This way, everyone can join in on the celebration, savoring every bite without worry.
- Nutty Addition: Mix in 1/2 cup chopped nuts to the cake batter for a delightful crunch. The combination of smooth ice cream and textured nuts creates an unforgettable experience that will have your family asking for seconds.
- Fruit-Filled: Add 1 cup of fresh berries or sliced bananas into the softened ice cream layer for a fruity twist. This not only adds flavor but also brings a burst of color to your dessert, making it visually appealing.
- Decadent Chocolate: Use chocolate fudge cake mix instead of regular chocolate cake for an extra rich flavor. Every slice becomes a heavenly indulgence, perfect for chocolate lovers who crave that deep cocoa taste.
- Zesty Lemon: Swap out the chocolate cake mix for lemon cake mix for a refreshing citrus twist. This brightens up your dessert and pairs beautifully with creamy vanilla or raspberry ice cream.
- Vegan Delight: Choose plant-based cake mix and dairy-free ice cream to create a vegan version. This option ensures everyone can enjoy your tasty creation, all while keeping it deliciously decadent.
- Spicy Kick: Add 1 teaspoon of cinnamon or cayenne pepper to the dry cake mix for a surprising heat. This unexpected twist will tantalize the taste buds and leave your guests talking long after dessert is served.
Make Ahead Options
This Ice Cream Cake recipe is perfect for meal prep, allowing you to save time and enjoy a delicious dessert when it’s most needed. You can prepare the cake layer up to 24 hours in advance by mixing 1 box of chocolate cake mix with 1 cup of water, 1/3 cup of vegetable oil, and 3 large eggs, then baking it as directed. Once cooled, slice the cake in half and store the layers tightly wrapped in the fridge. The ice cream layer can be softened and spread over one cake layer just before serving. Additionally, you can whip up your frosting with 1 cup of whipped cream and have your chocolate syrup and sprinkles ready to go for a quick finish. Assemble your Ice Cream Cake within 3 days for optimal flavor and freshness—just frost it right before serving for that delightful finishing touch!
Ice Cream Cake Recipe FAQs
What type of cake mix works best for this ice cream cake?
You can use any flavor of cake mix that you love! While chocolate cake mix is a classic choice, vanilla, red velvet, or even lemon can add delightful twists to your ice cream cake. Just remember to follow the same preparation instructions for whatever flavor you choose.
How should I store leftover ice cream cake?
If you have any leftovers (which is rare with this delicious treat!), store them in an airtight container or wrap the cake tightly in plastic wrap. It will keep well in the freezer for up to one week. Just be sure to let it sit at room temperature for a few minutes before slicing to make serving easier!
Can I freeze the assembled ice cream cake for longer than two hours?
Absolutely! Freezing it for longer than two hours won’t hurt, and it can be stored in the freezer for up to one month. Just make sure it’s well-wrapped to prevent freezer burn and keep that delicious flavor intact.
What if my cake came out too dry or crumbly?
If your cake is dry, it might need a little more moisture next time. Ensure you’re measuring your ingredients accurately and try adding a tablespoon of milk or increasing the egg count to four next time. Also, avoid overmixing the batter; mixing just until combined helps retain moisture.
Are there any dietary considerations I should be aware of?
For a gluten-free version, opt for a gluten-free cake mix and ensure your ice cream is also gluten-free. If you’re looking for dairy-free options, many brands offer delicious dairy-free ice creams that can work wonderfully as a substitute in this recipe.
How many servings does this ice cream cake recipe yield?
This recipe yields approximately 4 servings. However, if you’re serving at a party or celebration, consider slicing smaller pieces to serve more guests—everyone will want a taste of this delightful dessert!
Ice Cream Cake
Ingredients
Method
- Preheat the oven to 350°F (175°C). Grease and flour a 9-inch round cake pan.
- In a mixing bowl, combine the chocolate cake mix, water, vegetable oil, and eggs. Mix until smooth.
- Pour the batter into the prepared cake pan and bake for 25-30 minutes or until a toothpick comes out clean.
- Allow the cake to cool completely in the pan before removing it.
- Once the cake is cooled, slice it in half horizontally to create two layers.
- Place one layer of cake on a serving plate. Spread softened ice cream evenly over the top.
- Top with the second layer of cake and wrap the entire cake in plastic wrap. Freeze for at least 2 hours to set.
- Remove the cake from the freezer and unwrap it. Frost the top and sides with whipped cream.
- Drizzle chocolate syrup over the top and add sprinkles if desired.
- Slice and serve immediately.